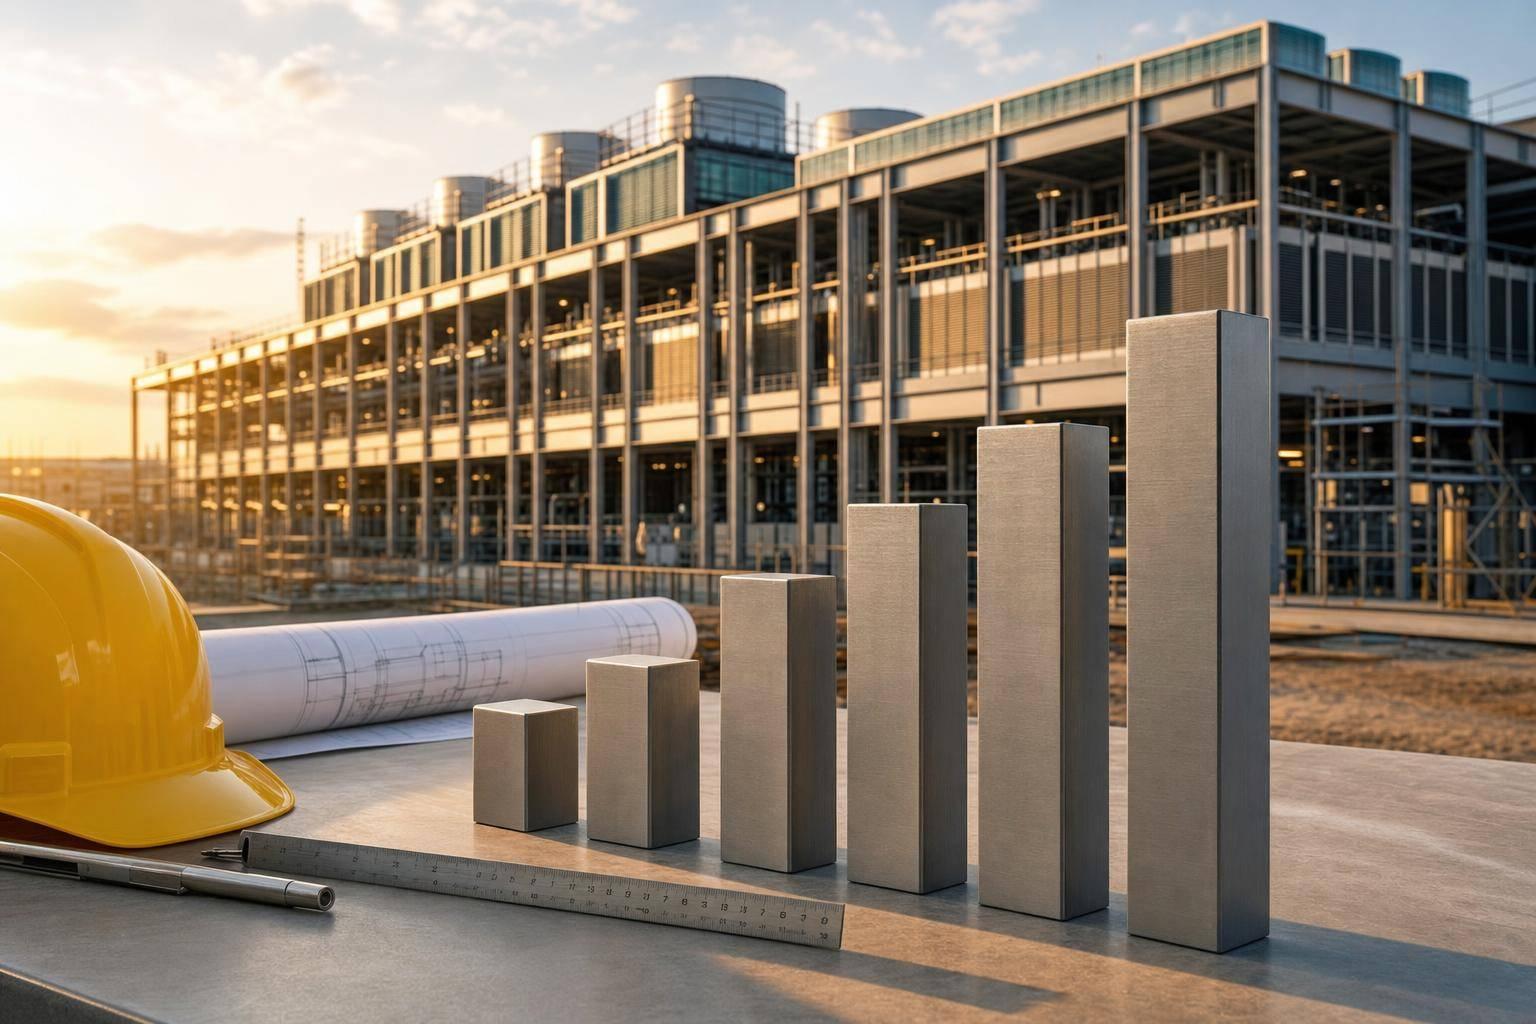
Data center commissioning ensures your facility operates as designed before handling critical workloads. It’s a five-step process that validates systems like power, cooling, and IT infrastructure through phases, starting from individual equipment testing to full system integration. Each level acts as a checkpoint to identify and resolve issues early, ensuring reliability and reducing costly risks.
Here’s a quick breakdown of the 5 levels:
Each level builds on the last, providing a structured approach to mitigate risks and guarantee the facility is ready for operation. Skipping these steps can lead to costly delays and downtime. For owners, understanding these levels ensures your investment is protected and your data center is prepared for the demands of modern workloads.

Data Center Commissioning Levels 1–5: From Factory to Full Integration
Data center commissioning involves a detailed, five-step process that starts with testing individual components and ends with validating the entire facility as an integrated system. Each step acts as a checkpoint, ensuring issues are identified early to prevent costly failures later. This phased approach is essential for ensuring the facility meets its intended design and performance goals.
"Each level acts as a 'gate' that must be completed and validated before advancing to the next stage." - EIDA [2]
The process begins with factory testing of individual equipment and gradually expands to include installation checks, system startups, functional testing, and finally, integrated system validation. By the end of the process, the entire facility is tested to confirm it can handle critical scenarios, like a utility power outage, by testing resilient power and cooling systems without disruption.
For data center owners, commissioning is the proof that the facility meets the Owner's Project Requirements (OPR) - a document that outlines the performance and functionality the data center must achieve. This process ensures that what was designed and built aligns with the owner's expectations. If the OPR lacks clarity, the testing process can become inconsistent, putting the entire project at risk.
Commissioning also ties directly to building an effective team. Understanding how the commissioning levels relate to data center workforce and project delivery helps owners assemble the right mix of skills to manage the process. These structured benchmarks are key to ensuring the project’s success.
The phased structure of commissioning is crucial because it identifies issues when they’re easiest - and cheapest - to fix. For example, catching a defective component during factory testing is far less expensive than addressing the same issue after installation. The gated approach also fosters accountability, as each team involved - whether equipment vendors or contractors - has a clear understanding of their responsibilities at every stage. This systematic validation ensures the data center can operate reliably under real-world conditions.
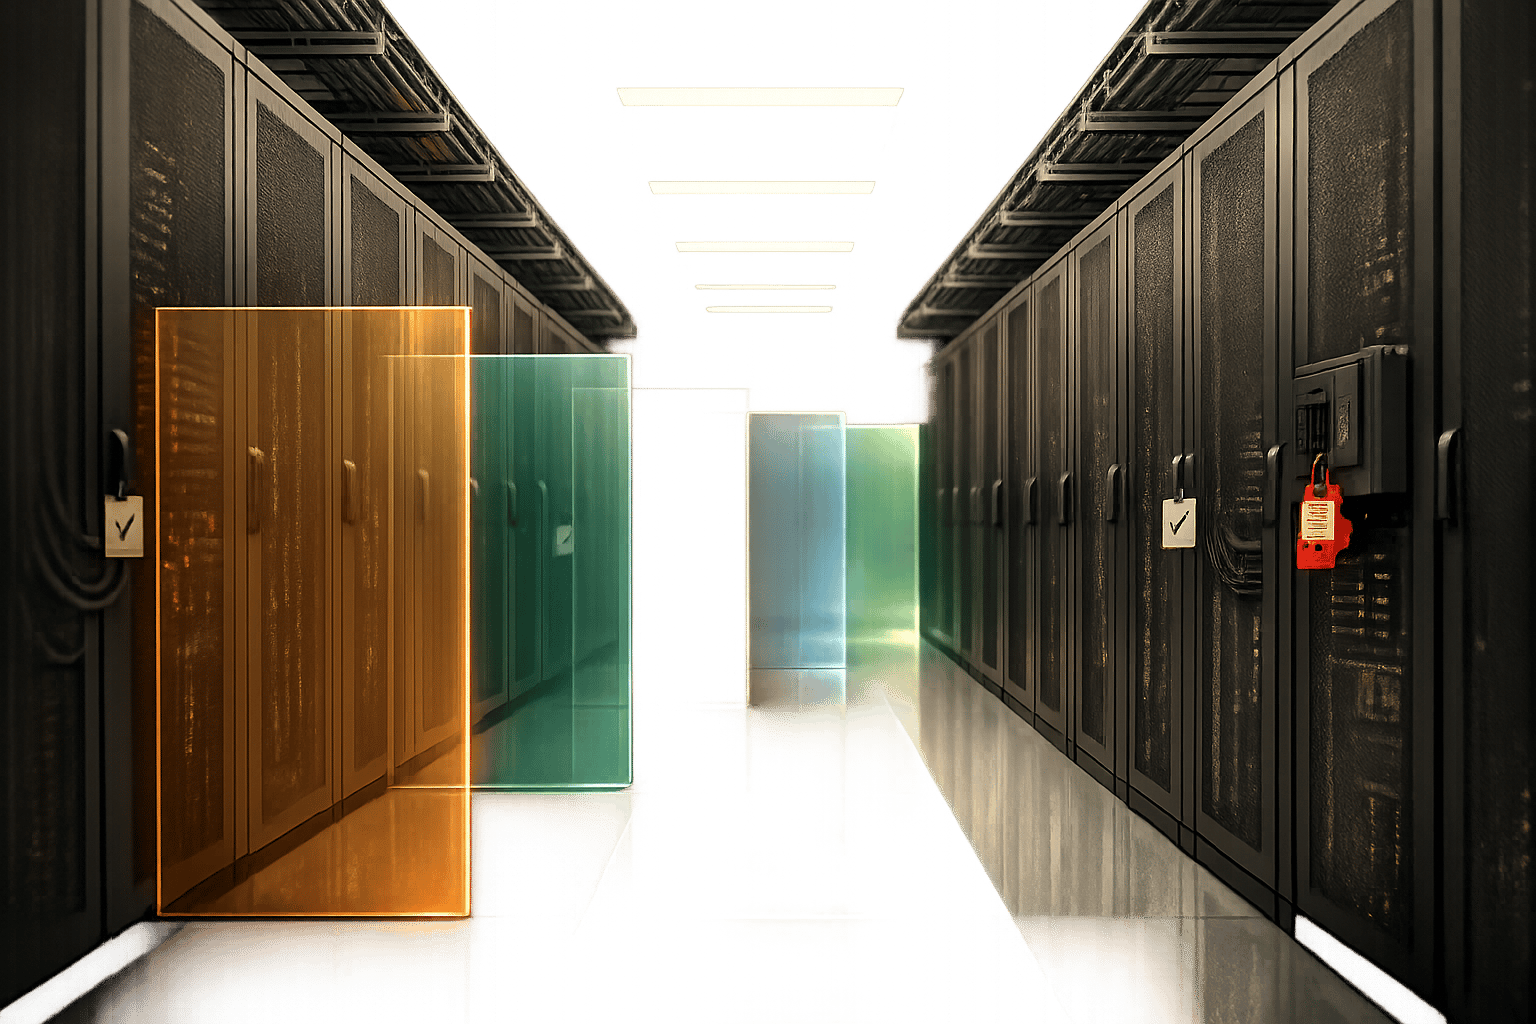
| Level | Name | Focus | Tag Color |
|---|---|---|---|
| Level 1 | Factory Testing | Validating equipment at the manufacturer's facility | 🟥 Red |
| Level 2 | Installation Verification | Ensuring proper delivery and physical installation | 🟨 Yellow |
| Level 3 | Systems Start-Up | Safe energization and basic subsystem configuration | 🟩 Green |
| Level 4 | Functional Testing | Testing systems under load and failure scenarios | 🟦 Blue |
| Level 5 | Integrated Testing | Full-scale validation of all systems working together | ⬜ White |
Factory Acceptance Testing (FAT) marks the official start of the commissioning process, taking place before equipment even leaves the manufacturer’s facility. This stage ensures that critical components are built to specification and function as intended. Addressing problems at the factory is far more efficient and cost-effective than dealing with them after installation.
FAT zeroes in on the components that pose the highest risk if they fail - generators, UPS systems, chillers, medium- and low-voltage switchgear, Power Distribution Units (PDUs), and Coolant Distribution Units (CDUs). For large-scale data centers, this often involves validating engine-alternator performance for units ranging from 500 kW to 5 MW before they are shipped [7].
During this phase, engineers conduct scripted load tests to confirm electrical performance, control logic, safety interlocks, and firmware compliance with approved specifications [1]. Any discrepancies are flagged as punchlist items, with critical issues resolved before shipment [8].
"Factory testing of major and critical equipment is inspected and tested at the vendor's factory to confirm it conforms to specifications and delivers on the intended operating requirements. Initial factory inspections and testing can identify issues that can be resolved prior to release from the factory." - IPS [3]
Once testing is successfully completed and documentation is approved, a physical Red Tag is attached to the equipment. This tag serves as a clear indicator that the equipment has passed Level 1 testing and is cleared for delivery [2]. Without a Red Tag, the equipment cannot be shipped. In some cases, a formal Confirmation to Ship Certificate from the Commissioning Provider is also required before the vendor can move the equipment to the next stage [8].
For data center owners, FAT represents one of the smartest investments in the commissioning process. Identifying defects like a faulty UPS or firmware mismatch at the factory - where the original engineers are readily available - costs significantly less than diagnosing and fixing these issues after installation. Additionally, it helps keep the project on track. A failed component discovered later during Level 3 startup could delay the go-live date by weeks.
To maximize the benefits of FAT, owners should include a few key requirements in their contracts:
However, there’s an important limitation to keep in mind: FAT occurs under ideal factory conditions. According to Uptime Institute, repeating key Level 1 tests once the equipment is in the actual data center environment is essential. Transit can sometimes introduce damage or alter configurations that weren’t apparent during factory testing [5].
Once a Red Tag clears equipment at Level 1, attention shifts to the job site. Level 2 focuses on everything from the moment a truck arrives at the loading dock to the final installation checks - before any system is powered on. This stage ensures that what was tested and approved at the factory arrives undamaged and is installed properly on-site.
Critical equipment like generators, UPS systems, switchgear, PDUs, and CDUs must be inspected as soon as it arrives. This includes checking for physical damage such as dents, broken seals, or signs of moisture intrusion [9]. Beyond the physical condition, it’s essential to confirm that the delivered equipment matches approved submittals and design drawings. Catching issues like incorrect model numbers or voltage ratings early can save time and effort later. Additionally, it’s crucial to confirm that storage conditions - temperature, humidity, and security - meet manufacturer requirements, as improper storage can void warranties and damage components [9].
"Level 2 activities verify through physical inspection that the equipment and components delivered to the site match what was specified and approved by the engineer." - IPS [3]
For larger projects involving multiple identical units, a First of Kind (FOK) sampling approach can be used. In this process, the Commissioning Provider (CxP) inspects and validates one unit from the batch. If it passes, the entire batch is considered approved. However, the General Contractor is still responsible for inspecting and testing all delivered equipment [9].
Once the equipment is delivered and placed, inspection shifts to installation quality. The commissioning team ensures proper alignment, adequate clearances, secure mounting, and correct cabling, all in line with project drawings and manufacturer guidelines [9]. At this stage, Foreign Object Detection (FOD) inspections are also performed on electrical panels and switchboards. These inspections help identify and remove construction dust, stray wires, corrosion, or moisture that may have accumulated during installation [9]. Even minor oversights can create major safety risks.
"Improper installation can lead to problems such as malfunctioning equipment, failures, or problematic maintenance, meaning costly rework." - Bob Morris, Construct & Commission [9]
Safety compliance is another critical step at this stage. This includes attaching Arc Flash stickers to switchboards and setting breakers according to the Arc Flash Report and Discrimination Study [9]. Once all delivery, storage, and installation checks are complete - and any punch list items are resolved - a Yellow Tag is applied to the equipment [9]. This tag signifies that the system is ready for Level 3 startup. Without it, no energization takes place, ensuring both equipment integrity and personnel safety.
After completing the installation verification phase (often marked by a Yellow Tag during Level 2), the project transitions into its first live testing phase: Level 3. This stage is where equipment is powered on for the first time in a controlled, step-by-step process. Often called pre-functional testing, it acts as the crucial link between installation and full system operation.
Starting up equipment isn’t as simple as just turning it on. Instead, it’s done in a carefully planned sequence, beginning with upstream power sources and progressing through systems like switchgear, UPS systems, and PDUs. Engineers configure each component with site-specific settings to ensure compatibility with its environment, rather than relying on factory defaults.
Cooling systems, such as CRAH and CRAC units, are also started during this phase. These systems are monitored closely to prevent short cycling - a condition where they turn on and off rapidly, which can cause excessive wear. At the same time, the commissioning team ensures that all equipment communicates properly with the Building Management System (BMS). They also verify that physical alarms are connected to operational dashboards, making it easier to detect and respond to faults.
"Level 3: Systems Start-Up Focus: Safe energisation and configuration of systems." - EIDA
Every startup event is meticulously documented, including breaker positions, sensor readings, and valve states, all with timestamps. Original Equipment Manufacturer (OEM) representatives are often on-site to oversee the startup of specialized equipment and confirm it meets factory standards.
The main objective of Level 3 is to confirm that each piece of equipment operates correctly on its own before being integrated into the larger system. Testing components in isolation makes it easier to identify and resolve issues later during integrated testing, as it ensures any problems are related to system interconnections rather than individual equipment failures.
"At this stage, static checks are performed to ensure the installation aligns with the design documents, follows the manufactures recommendations, and meets accessibility, maintainability, and compliance with local code requirements." - Henderson Building Solutions
Testing, Adjusting, and Balancing (TAB) is also carried out during this phase to ensure that airflow and cooling systems meet the required design specifications.
The U.S. Department of Energy notes that structured commissioning can boost building performance by 10–20% while reducing the chances of costly rework or downtime [10]. Any issues identified during Level 3, often called punch items, must be addressed before proceeding. This ensures the systems are fully prepared for the next stages of commissioning.
Completion of Level 3 is marked by the application of a Green Tag to the equipment. This tag includes the equipment ID, test date, and sign-offs from key personnel. For project owners, the Green Tag provides a clear, visible sign of progress toward operational readiness. With Level 3 successfully completed, the project is ready to move into full system integration in Level 4.
Once the green tag validation is complete in earlier phases, Level 4 shifts the focus to testing integrated systems under real-world conditions. This phase, called Functional Performance Testing (FPT), ensures that verified components come together as a fully operational data center. It bridges the gap between individual system checks and full facility integration, confirming that every component works reliably under both normal and challenging conditions.
During this stage, the Sequence of Operations (SOO) for each major system is tested to verify smooth interaction between systems. This involves checking that control logic, interlocks, and automation are functioning as intended. Load banks are used to simulate IT heat and power loads, gradually increasing to 25%, 50%, 75%, and 100% of the design capacity. This allows the commissioning team to observe how the system responds and whether control loops remain stable.
"Functional Performance Testing (FPT) procedures... ensuring individual systems, operating modes, and interlocks are dynamically tested against the design intent." - Bob Morris, Commissioning Expert [6]
Alarm and setpoint verification also play a key role in this phase. Alarm thresholds are intentionally triggered to ensure they register correctly in the Building Management System (BMS), while setpoints are adjusted to confirm systems respond within acceptable limits. Unlike earlier phases, Level 4 typically requires the Owner's Commissioning Provider (CxP) to witness 100% of the tasks performed [11].
Once normal operating sequences are validated, the next step is to push the system further by simulating potential failure scenarios.
Level 4 includes deliberate fault simulations to test the system's ability to handle failures. For instance, cutting off utility power ensures the Automatic Transfer Switch (ATS) activates and the Uninterruptible Power Supply (UPS) bridges the gap until generator power takes over. Similarly, triggering fire alarm interlocks tests whether HVAC systems shut down and dampers close to prevent smoke spread. Other tests include disabling primary chillers or pumps to see if redundant systems can maintain temperature stability.
"Individual assets can pass and the facility can still fail as a system. Developers should test scenarios that match actual operating risk." - Build Team [4]
This phase highlights an important point: even if a component passed earlier tests, it might fail to integrate with others during a simulated fault. For example, a UPS that worked perfectly during Level 3 testing might fail to sync with the generator during a utility power outage simulation in Level 4. The table below outlines common failure scenarios and what they confirm:
| Failure Scenario | Simulation Method | What It Confirms |
|---|---|---|
| Utility Power Loss | Opening the upstream utility breaker | Generator start sequence and UPS ride-through |
| Cooling Loop Failure | Shutting down a primary chiller/pump | Redundant units maintain temperature stability |
| Control Failover | Disconnecting a primary controller | Secondary controller maintains system visibility |
| Fire Alarm Interlock | Triggering a smoke detector/pull station | HVAC shutdown and damper closure to limit smoke spread |
| Load Step Testing | Incrementally stepping load banks | System stability and response to changing demand |
Successfully completing Level 4 confirms that systems can handle both routine operations and stress scenarios, paving the way for Level 5 testing. Once all functional tests are passed and any remaining issues are resolved, a Blue Tag is applied to the equipment. This signifies that the system is ready for the next phase: Level 5 Integrated System Testing [2].
Level 5, often referred to as "White Tag" testing, is the final commissioning stage in a data center project. At this point, Levels 1 through 4 are complete, and any remaining punch-list items have been addressed. The goal here is to integrate all prior testing results to confirm that the entire system functions as a cohesive unit [13].
"A data center is not delivered when the shell is complete. It is delivered when the critical infrastructure can carry load, fail safely, recover cleanly and support the tenant's uptime requirements." - Build Team [4]
This stage ensures that all critical systems - power, cooling, fire suppression, the Building Management System (BMS), security, and IT infrastructure - work together seamlessly. Unlike Level 4, which focuses on individual system performance, Level 5 emphasizes system interoperability. For instance, a failure in one system must automatically trigger the appropriate response across all interconnected systems [13].
Level 5 also verifies that redundancy configurations perform as intended under real-world conditions. This is crucial for meeting the Owner's Project Requirements (OPR) and validating the initial design intent. It's also a key step for achieving Uptime Institute Tier certification [13]. For facilities that support AI workloads or high-density deployments, this stage goes further by proving that airflow and liquid cooling systems can handle the specific power densities tenants plan to use, not just theoretical capacity [4].
With these validations in place, the next step is to put the facility through rigorous load and failure scenario testing.
Load testing uses load banks to simulate actual tenant power and heat demands across the facility. During this process, engineers monitor temperature stability, fine-tune control systems, and verify the accuracy of BMS alarms.
The most challenging part of Level 5 involves simulating critical failure scenarios. For example, a Blackout Test cuts off utility power to confirm that backup generators start automatically, Automatic Transfer Switches (ATS) operate correctly, and Uninterruptible Power Supply (UPS) systems maintain the IT load during the transition [12]. Beyond power systems, engineers also simulate failures in cooling loops, trigger fire alarms to test HVAC shutdowns and damper closures, and perform Black Start sequences, which involve a complete restart after a total shutdown [4].
| Critical Scenario | What It Verifies |
|---|---|
| Utility Power Failure | Generator auto-start, ATS transition, and UPS support |
| UPS Ride-Through | Sustained load during generator transition |
| Cooling Loop Failure | Redundant cooling maintains temperature automatically |
| Fire Alarm Activation | HVAC shutdown, damper closure, and fire suppression |
| Black Start | Full recovery from a complete power-down |
Every test is meticulously documented with time-stamped logs, sensor data, and video records to ensure compliance with standards like ANSI/TIA-942 and NFPA fire protection guidelines. Successfully passing these tests earns the White Tag, signifying that the facility's systems are fully integrated and ready for owner acceptance.
"The primary objective of L5 commissioning in Data Centers is to validate that all mission-critical systems... perform reliably and cohesively under normal, abnormal, and emergency conditions." - PT. Berca Mandiri Perkasa [13]
Achieving the White Tag demonstrates that the facility is ready to meet the tenant's operational demands. It marks the final step before the project moves to owner acceptance and final sign-off. This rigorous process ensures the data center is fully prepared for real-world challenges.
Reaching Level 5 is a big achievement, but the groundwork for managing risk starts long before earning the White Tag. Owners who view each commissioning level as a formal checkpoint, rather than a simple checklist, are far better equipped to avoid surprises when operations begin. This phased approach not only reduces unexpected issues but also helps streamline the entire project timeline.
"Commissioning highlights what a system can do and how it will respond beyond the original requirements and design features." [5]
Each commissioning level acts as a gate - progressing to the next phase isn’t possible until the current level is signed off with no open issues. This strict pass/fail approach ensures that problems don’t snowball as the project moves forward [2]. For example, a cooling unit with unresolved Level 3 issues cannot proceed to Level 4 functional testing.
This system also serves as a powerful scheduling tool for owners. By aligning each commissioning level with a project milestone, owners gain a clear, unbiased view of the project’s actual status, rather than relying solely on contractor updates. On-site, the color-coded tagging system provides an instant visual indicator of progress across all assets [2][6].
One common pitfall is leaving the assembly of the handover package until the final weeks of the project. Instead, turnover documentation - like test records, warranties, as-built drawings, and operating procedures - should be compiled incrementally throughout the commissioning process. This approach ensures that the operations team has everything it needs from day one [4]. Complete documentation at each milestone not only reduces operational risks but also helps secure warranty and insurance coverage [1].
"The gap [between shell completion and operational readiness] is where projects lose weeks, trigger liquidated damages or hand over hidden risk." - Build Team [4]
Once documentation is in order, the next priority is aligning all teams involved to ensure a smooth transition to operations.
Team misalignment can cause significant delays during commissioning. Contractors, the independent Commissioning Authority (CxA), and operations staff often have competing priorities, which can lead to conflicts without a clear structure. Starting the project with a RASCI matrix (Responsible, Accountable, Supportive, Consulted, Informed) clarifies who is responsible for each task [6][14]. Daily coordination meetings and weekly commissioning reviews further help track progress and address any outstanding issues [11][14].
It’s also essential to involve operations staff during Level 4 and Level 5 testing, rather than simply handing them a manual at the end. As Uptime Institute's Ryan Orr explains, "Excluding Operations is a huge missed opportunity for training and compromises the team's ability to verify maintenance and operations procedures." [5] Including operators early ensures they’re familiar with how the building performs under stress, which is exactly the preparation needed before tenants begin using the facility.
The different commissioning levels - from Red Tag factory testing to White Tag integrated validation - are designed to ensure your data center meets both design and performance expectations. Together, these levels create a step-by-step process that identifies issues early, tests redundancy under real-world conditions, and hands over a facility that operations teams can rely on from day one. This approach not only protects your investment but also connects the dots between design, testing, and final acceptance.
For owners, the takeaway is straightforward: treat each level as a crucial milestone. Make sure turnover documentation is compiled during commissioning, actively involve operations teams during Levels 4 and 5, and bring your commissioning authority into the process from the very beginning. These steps aren’t just suggestions - they’re the foundation for a facility that operates reliably for years, rather than one that exposes its flaws only after tenants move in.
"The five level data centre commissioning process offers a clear, repeatable roadmap to ensure that every aspect of a data centre is properly designed, tested, and handed over." - EIDA [2]
These final validation steps reinforce the thorough checks built into the earlier stages, ensuring that every system performs as expected under real-world conditions. With global data center power demand projected to climb by 165% by 2030 compared to 2023, the need for dependable, on-time facilities has never been greater. A well-structured commissioning process is how owners safeguard their investments, meet uptime goals, and equip their operations teams for long-term success.
The Owner's Project Requirements (OPR) is a critical document that defines the facility's functional goals and acceptance criteria. Ultimately, the owner holds responsibility for this document. However, if the owner isn't directly involved in the facility's day-to-day operations, they can delegate this responsibility to a project manager or representative.
The commissioning provider plays a key role by ensuring that the facility's design and performance consistently meet the expectations outlined in the OPR throughout the project.
It's important to progress to the next commissioning level only after all tasks in the current stage have been fully completed, verified, and properly documented. Each level acts as a checkpoint, guided by schedules, responsibility charts, and workflows to keep all stakeholders aligned. Ensuring that goals are achieved at each step provides traceability and helps minimize operational risks before moving forward.
To protect warranties and make the handover process seamless, start assembling a comprehensive turnover package during commissioning rather than leaving it for the end. This package should contain essential items like the final Owner’s Project Requirements (OPR), Basis of Design (BOD), the approved commissioning plan, completed test records, as-built drawings, warranties, control sequences, maintenance and emergency procedures, training records, vendor contact details, and an updated issues log. Make sure to verify all handover documents by sampling 100% of them.