If I get the ICRA class wrong, I can put patients at risk, stop the job, and expose the team to costs that can range from $15,000 to $50,000 per finding - plus $28,000 to $47,000 in avoidable infection costs.
So here’s the short version: Class I is basic clean-as-you-go work. Class II adds local dust control. Class III moves to sealed containment and negative air. Class IV is for major demo with hard walls and 24/7 pressure monitoring. The class comes from one thing: the work type matched with the patient risk area.
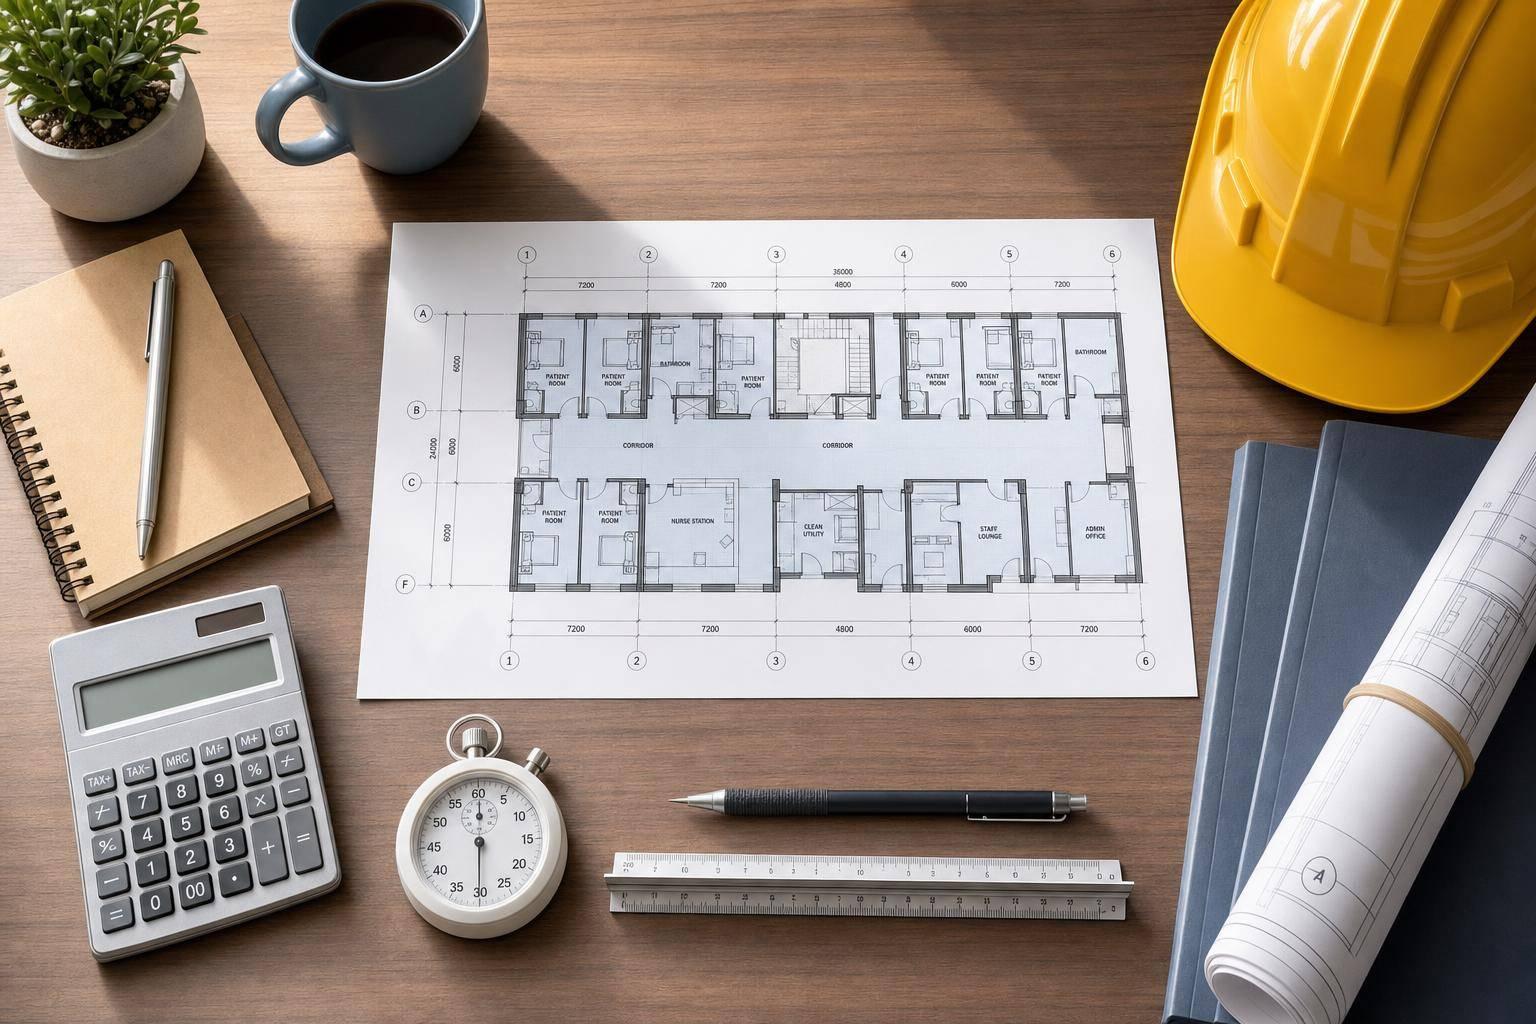
Before work starts, I need to lock down a few basics:
A few points stand out fast:

ICRA Classes I–IV: Controls, Monitoring & Risk at a Glance
| Class | Typical Work | Main Controls | Monitoring |
|---|---|---|---|
| I | Visual checks, non-dust tasks | Clean as I go, replace ceiling tiles, use set routes | Per facility policy |
| II | Minor penetrations, short above-ceiling maintenance | Local dust control, sealed debris, HEPA vacuum, HVAC isolation | Logs and permit steps per facility |
| III | Moderate demolition, sanding, flooring, wall/ceiling work | Airtight floor-to-deck barrier, negative air, sealed debris routes | Daily pressure checks |
| IV | Major demolition, heavy construction, consecutive shifts | Hard-wall containment, sealed seams, tighter entry/exit control | Continuous 24/7 monitoring with alarms |
In plain terms: as the class goes up, the barrier gets tighter, the airflow rules get stricter, and the paperwork grows. I use the class to plan phasing, crew rules, dirty routes, shutdowns, and closeout so patient care can keep moving.
Class I covers non-invasive work like visual inspections. It does not include breaking surfaces or doing anything that creates dust. For construction managers, that usually means focusing on route control, housekeeping, and tight access rules, not setting up barriers.
At this level, the controls are pretty simple. Keep dust to a minimum, clean as you work, put ceiling tiles back right after a visual inspection, and wet-mop the area when the task is done. Routes still matter. Tools and workers should use set paths that stay away from patient care areas. Any equipment brought into the space should be visibly clean, including hard hats.
One detail can trip people up: in Group 4 areas, the exact same task may call for Class II controls.
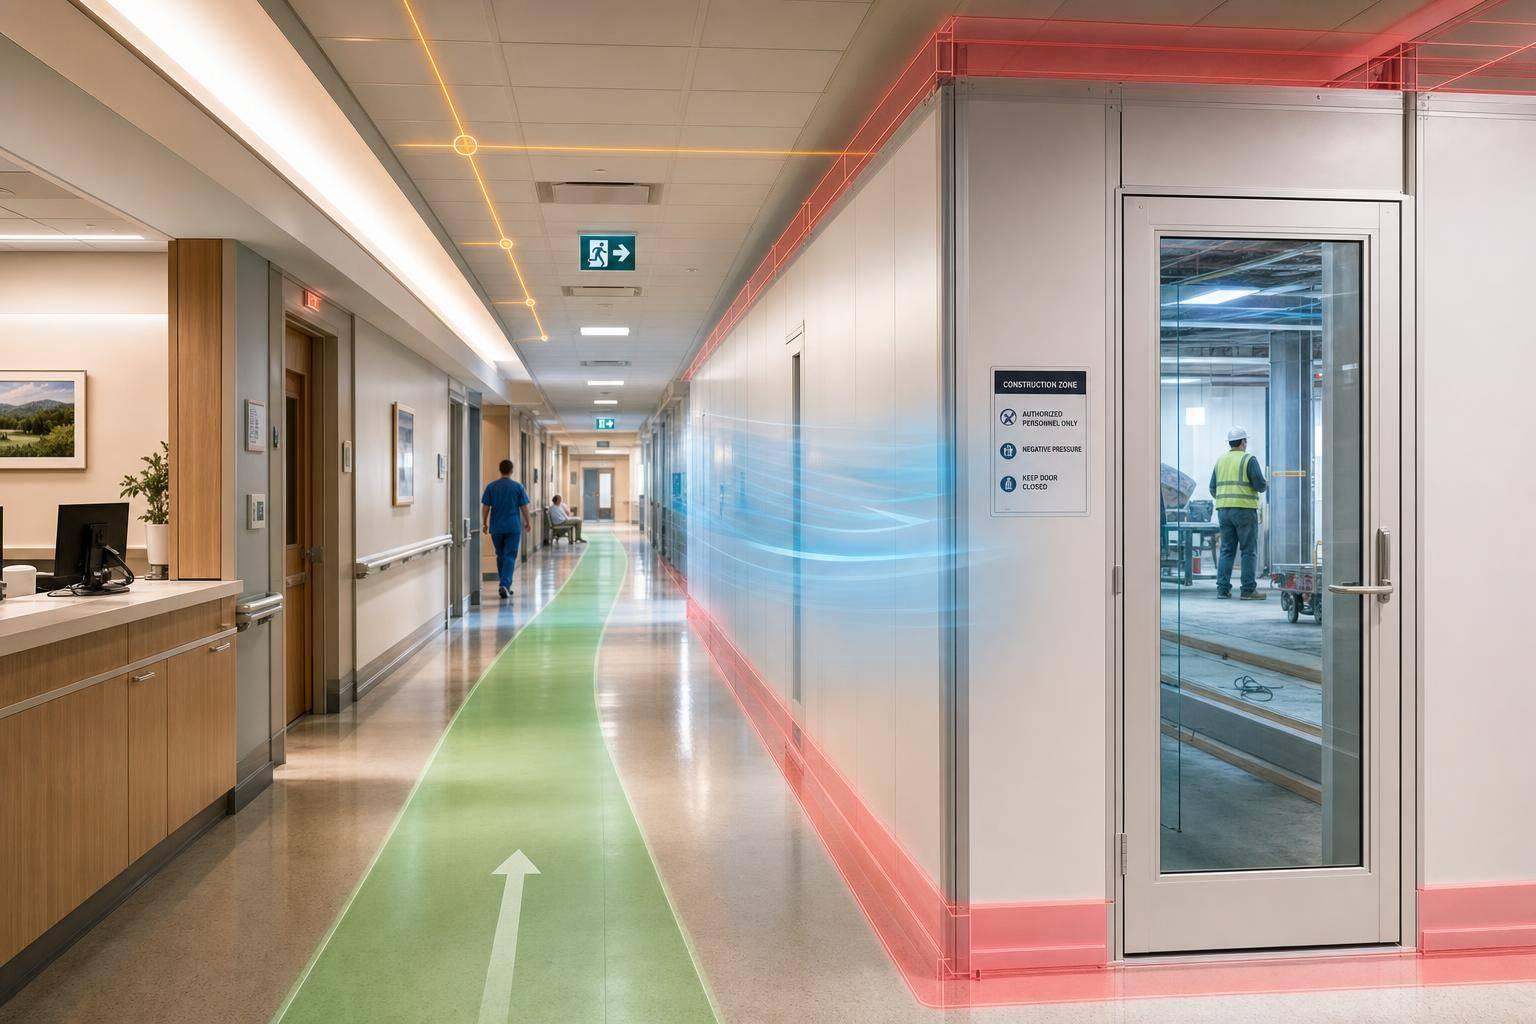
Once the work includes minor penetrations or any ceiling access, you’re no longer in the plain-housekeeping zone. That’s when localized containment comes into play.
Class II applies to small, short-duration maintenance tasks that create limited dust. That includes minor penetrations, small localized repairs, or limited above-ceiling work. The big call here is whether the task is still maintenance or whether it has drifted into renovation.
Under current ICRA guidance, Class II is for maintenance activities only. Minor renovation or “refresh” work should be reviewed as construction work, not routine maintenance. If there’s any gray area, bring it to the infection preventionist before work starts.
The dust-control steps are more hands-on than Class I:
If the work starts pushing past maintenance-level dust control, it’s time to move to full containment controls.
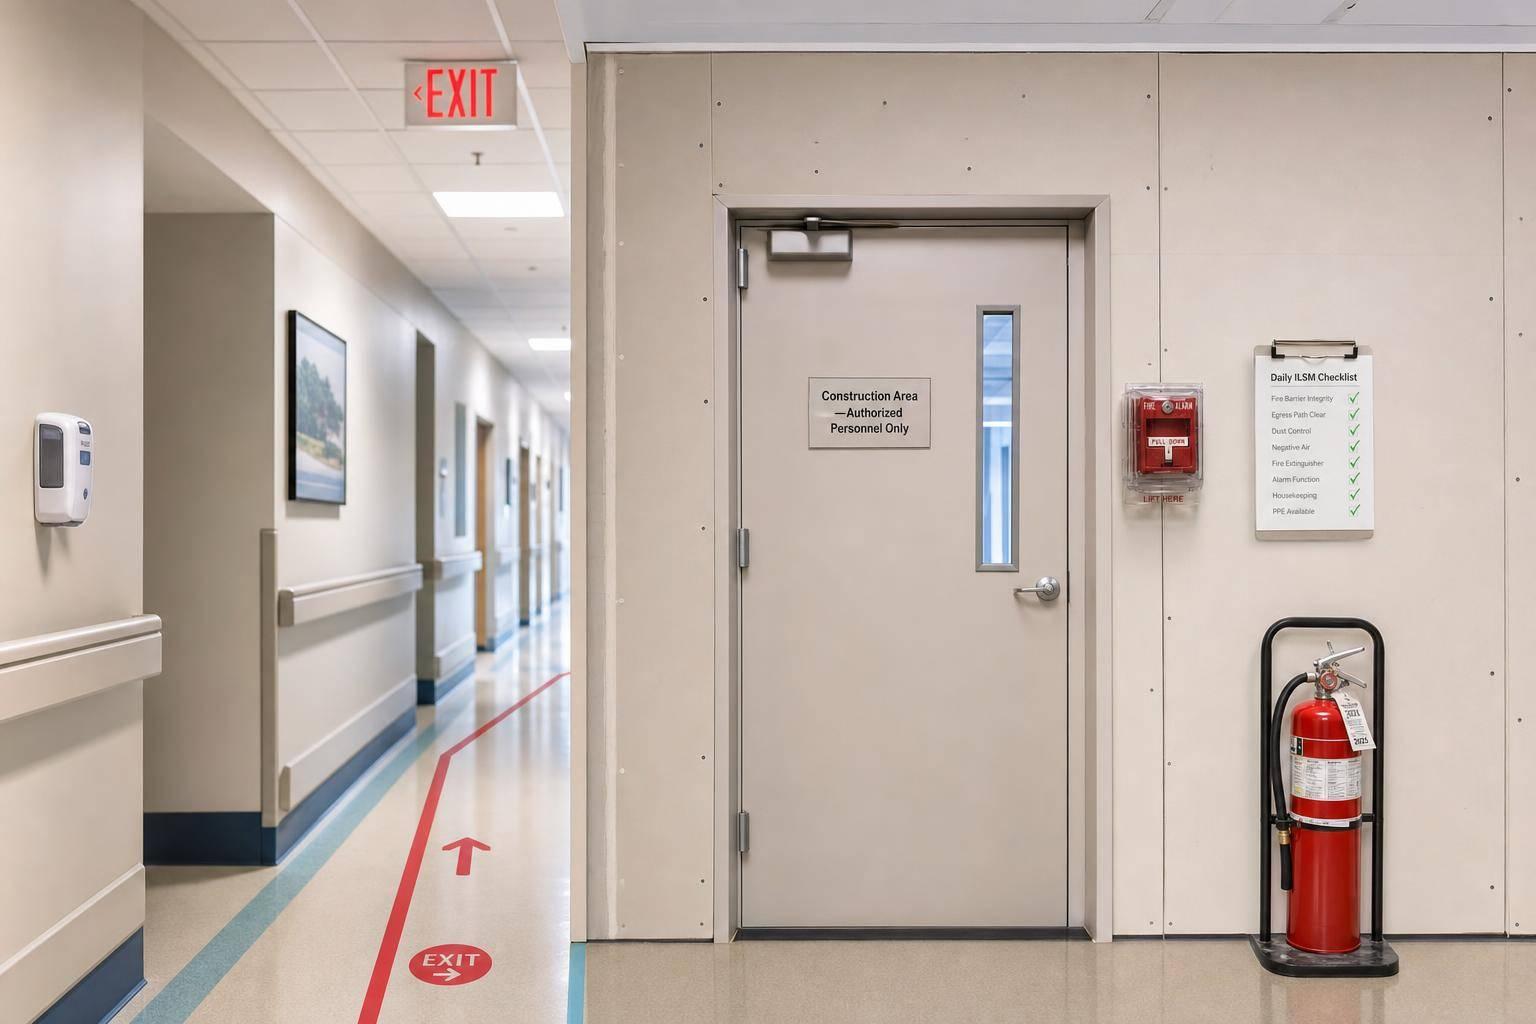
Before any Class I or Class II task starts, make sure the ICRA matrix has been completed and signed by the infection preventionist. Also confirm the area’s risk group. Even with these lower classes, many facilities still want a signed permit or a standing order posted at the jobsite, based on facility policy.
Noisy work and debris removal should be coordinated with nursing leadership before the day begins, not after the crew is already in motion. And if the facility wants an ICRA-trained lead, confirm that during preconstruction, not the morning work is supposed to begin.
Use the table below to check the control level before work starts.
| Pre-Task Decision | Class I | Class II |
|---|---|---|
| Signed permit or standing order | Standing permit often sufficient | Follow facility policy; a signed permit or standing order may need to be posted |
| Crew briefing | Required before entry | Required; include containment and cleanup steps |
| ICRA-trained lead on-site | Facility-dependent | Often required by many facilities |
| Scheduling | Coordinate as needed | Coordinate with nursing leadership for noisy or dusty tasks |
| Debris removal route | Designated paths away from patient areas | Bag and seal all materials before transport |
| Daily documentation | Per facility policy | Inspection logs, worker sign-in sheets, and PPE compliance records |
When the scope moves from localized dust control into demolition or continuous containment, the class shifts to Class III or IV.
Moderate demolition, wall or ceiling removal, and other sustained high-dust work call for Class III or Class IV controls. At this stage, the job is no longer about a small dust-control setup. It shifts to full containment, airflow control, and much closer coordination across teams.
Class III applies to Type C work such as sanding, floor removal, wall construction, or extended ductwork in Group 3 areas like emergency rooms, labor and delivery, or outpatient surgery. [1]
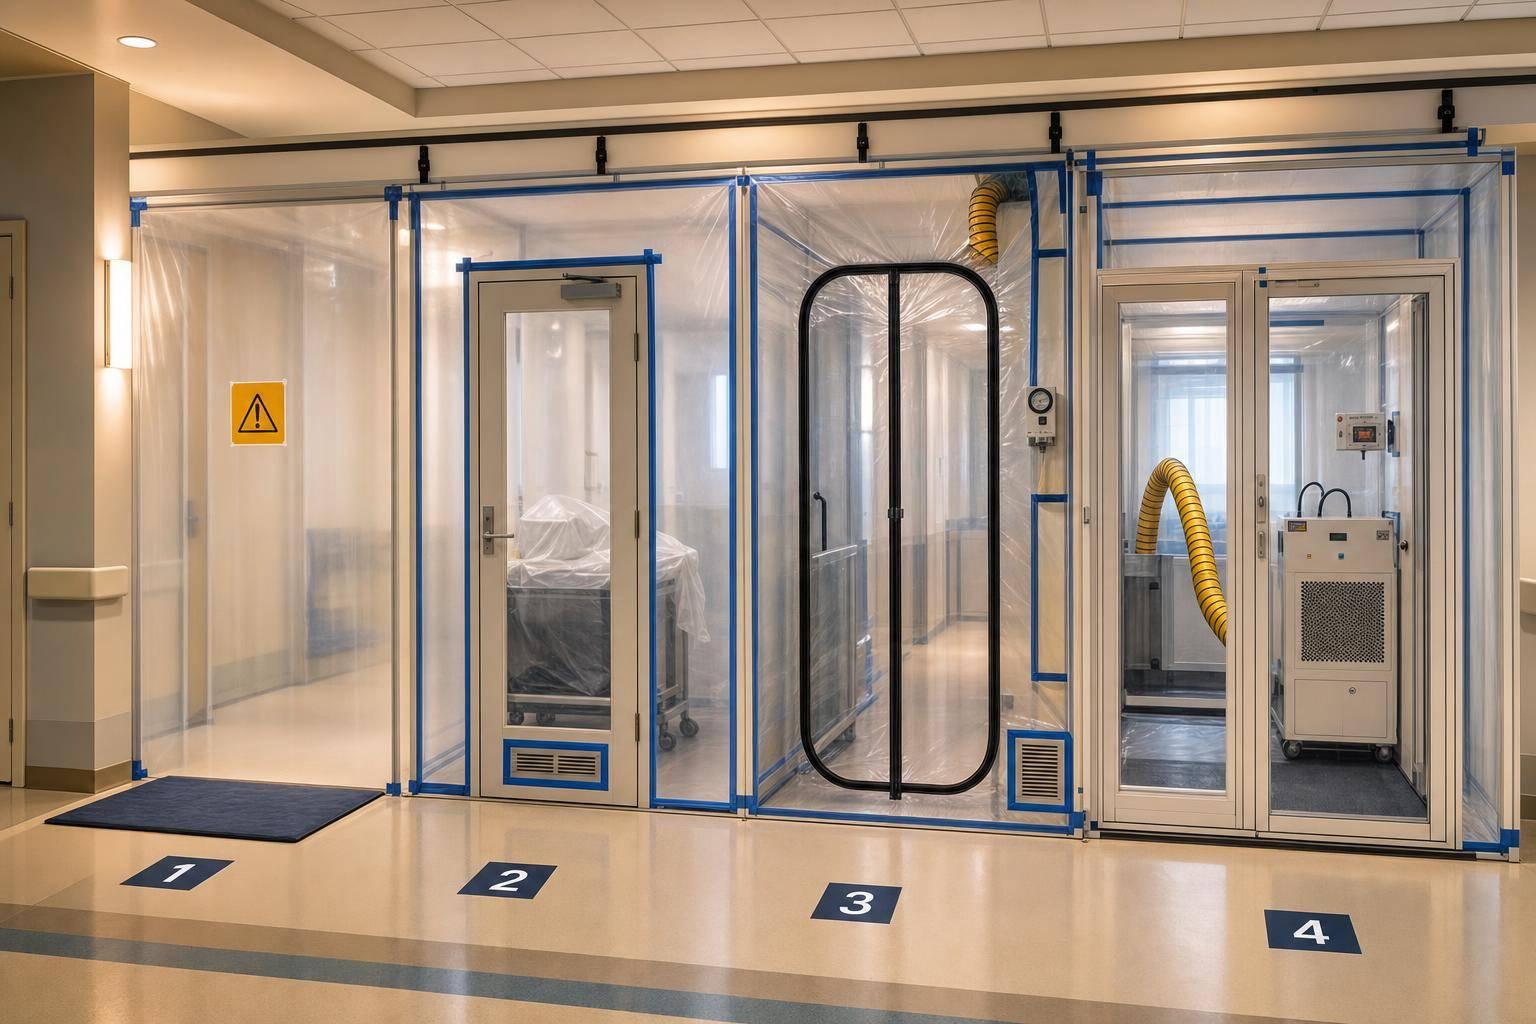
Here, the work zone needs a floor-to-deck airtight barrier built from rigid panels or heavy-gauge plastic. HVAC vents and returns inside the containment area also need to be cut off from the building HVAC before demolition begins. Negative pressure must be kept in place with HEPA-filtered units, with daily readings logged at -2.5 Pascals or lower. [1][5]
Movement in and out of the space also needs tight control. Debris should be bagged and sealed inside the containment area before it goes anywhere else, and covered carts should use only marked dirty routes away from patient corridors. Sticky mats at the exit help catch dust before it leaves the zone. [1][4]
If the scope grows past the approved area, stop the work and reassess the ICRA before moving ahead.
Once the work moves from moderate demolition into major demolition or consecutive-shift construction, the controls step up to Class IV.
Class IV is used for Type D activities - major demolition or heavy construction running across consecutive shifts - in Group 3 or Group 4 areas. [1]
At this level, full-height hard-wall barriers are required, sealed at every seam, penetration, and floor-to-deck connection. [1][3]
Class IV also calls for 24/7 electronic pressure monitoring with audible alarms. [6][2] An anteroom is usually required as well, giving workers a place for gowning and equipment staging before entering or leaving the containment zone. [1][3]
Infection prevention needs to be part of the plan before work starts, and facilities, nursing, and safety leaders should stay in the loop through the entire job.
For construction managers, the difference is pretty simple: Class III relies on airtight containment and routine pressure checks. Class IV adds hard-wall barriers, nonstop monitoring, and tighter entry and exit control.
Use the table below to line up the class with the containment setup, monitoring level, and coordination load.
| Feature | Class III | Class IV |
|---|---|---|
| Work Type | Moderate demolition, flooring removal, wall/ceiling removal | Major demolition, heavy construction, consecutive shifts |
| Risk Areas | Group 3 (High Risk) | Group 3 or Group 4 (Highest Risk) |
| Barrier Requirement | Airtight plastic or rigid barriers, floor-to-deck | Hard-wall barriers sealed with joint compound or caulk |
| Airflow Control | Negative pressure with HEPA filtration; daily pressure logs | Continuous negative pressure with alarms |
| Anteroom | Not strictly required unless specified | Typically required for gowning and staging |
| Documentation | ICRA permit, daily pressure and housekeeping logs | ICRA permit, continuous pressure logs, environmental monitoring |
| Monitoring | Daily manual or digital pressure checks | Continuous 24/7 electronic monitoring |
| IP Sign-Off Required | Yes, before work begins and before patient return | Yes, before work begins and before patient return |
Once the class is set, the next job is simple in theory and hard in practice: turn that class into a phased plan, daily controls, and records that keep patient care moving without interruptions. This is the point where the matrix stops being paperwork and starts guiding what happens on site.
Use the ASHE ICRA 2.0 five-step process: define the activity, identify the patient risk group, assign the class, review adjacencies, and set mitigation. That last part matters more than many teams expect. A work zone may look low-risk on its own, but the spaces above, below, or next to it can push the job into a much stricter level of precaution, especially near ICU or oncology units. Stairwells and elevator shafts connected to the area need review too.
Before permit approval, review medical gas, HVAC, plumbing, power, data, and water tie-ins in the PCRA and SRA so shutdowns don't interrupt patient services. If the scope shifts from one phase to the next, the ICRA needs to be reassessed and, when needed, rewritten for each phase of the project.
Reassess the ICRA whenever scope, phasing, or adjacent-risk conditions change.
Once the plan is approved, turn it into daily checks for barriers, airflow, and routing.
Every shift should start with a barrier inspection. Check seals at the floor, deck, and wall connections before work begins. For Class III, verify negative pressure daily. For Class IV, use continuous monitoring with alarms. Log every reading.
Dirty routes should be assigned ahead of time. Use covered carts, and keep debris movement out of patient corridors. Adhesive mats at exit points help stop dust from leaving the work zone. End-of-shift cleaning should also be part of the daily scope.
If a barrier is breached or negative pressure is lost, stop work, fix the issue, and document the deviation before work starts again.
Once controls are in place, document them in the same order they're checked. It helps to track records across four phases: assess, approve, work, and close. The table below shows what belongs in each one.
| Project Phase | Required Documentation |
|---|---|
| Assess & Reassess | ICRA matrix, PCRA/SRA reports, life safety drawings, system impact maps |
| Approve | Signed infection control permit, approved mitigation plan, multidisciplinary team sign-offs |
| Work & Monitor | Daily barrier inspection logs, negative pressure readings, PPE compliance checks, cleaning logs, deviation reports |
| Close | Final cleaning verification, HVAC restoration logs (ACH, temperature, humidity), environmental testing results |
Keep containment in place until final inspection, terminal cleaning, HVAC restoration, and Infection Control sign-off are complete.
Once the class is assigned, it sets the jobsite standard for controls, staffing, and documentation. Class I calls for basic housekeeping. Class IV means hard-wall containment, continuous negative pressure, and close infection-control oversight. As the class goes up, the rules for containment, airflow, and paperwork get stricter. Get the class wrong, and the controls break down.
Misclassifying the work can lead to $15,000 to $50,000 in citations per finding and $28,000 to $47,000 in avoidable infection costs.[5]
For healthcare project teams and hiring managers, the point is simple: you need field leaders who can carry out the class the right way. Construction managers and superintendents should know ICRA cold. They need to read the matrix, set barriers, manage airflow, coordinate with infection prevention, and keep records audit-ready.
For hiring teams, focus on leaders with:
Start by defining the Construction Activity Type (A, B, C, or D) based on how invasive the work is. Next, identify the Patient Risk Group (Low, Medium, High, or Highest) for the areas affected by the project.
Then use the ICRA matrix to match those two factors and determine the required class of precautions.
If the project affects more than one risk group, use the higher-risk level. Infection preventionists may also add extra controls based on site-specific needs.
A job moves from Class II to Class III based on both the type of construction work and the patient risk group in that area.
It usually shifts to Class III when the work becomes more invasive. That includes tasks like renovating a single room, removing existing walls, or doing work that creates heavy noise and vibration.
Even inspection or maintenance work can move into Class III if it takes place in high-risk or highest-risk patient areas.
Before work starts, Class III, Class IV, and Class V projects need an infection control permit and sign-off from the facility’s infection prevention team.
Class I and II work usually doesn’t need a formal permit unless the facility’s own policy says otherwise. Even so, every healthcare construction project should go through an ICRA first.
One point matters here: the healthcare organization that requests or hires out the work - not the contractor - is responsible for completing the ICRA and getting the needed approvals.