If FGI gets missed early, hospital jobs often pay for it later with rework, failed inspections, and move-in delays. I’d treat it as a field issue from day one, not just a design review item.
Here’s the short version: once a state or AHJ adopts FGI, it becomes enforceable. That affects room sizes, air rules, infection control, medical gas, life safety, shutdowns, inspections, and turnover records. And the cost of getting it wrong is steep: HVAC issues account for 34% of healthcare construction violations, failed inspections can delay occupancy by 6–12 weeks, and healthcare rework can cost 2.3x more than office-project rework.
If I were planning a hospital project, I’d focus on these points first:
A few 2022 FGI updates can hit cost and layout fast. For example, NICU multi-infant rooms moved to 150 sq. ft. per patient, single-infant rooms to 180 sq. ft., exam and observation rooms need 100 sq. ft., and domestic hot-water recirculation now needs to be within 10 feet of each fixture.
The bottom line: if I map FGI rules to each phase - estimate, precon, coordination, field work, and closeout - I’m less likely to get burned by hidden scope, shutdown trouble, or late inspection misses.
Preconstruction is the point where FGI starts hitting the job in very concrete ways: cost, scope, and schedule. If something gets missed here, it usually shows up later as a change order. And in healthcare, those mistakes are expensive. Rework costs average 2.3x more than similar rework in commercial office construction because of stricter material standards, infection control rules, and testing demands [4].
Start with the basics: make sure room dimensions match the latest drawings. The 2022 FGI Guidelines changed several minimum room sizes, and those changes affect framing, headwall location, and equipment layout right away. NICU multiple-infant rooms increased from 120 to 150 sq. ft. per patient, while single-infant rooms now need 180 sq. ft. Exam and observation rooms have a 100 sq. ft. minimum [2].
If the drawings miss those numbers, the field team builds the wrong layout first. Then the correction ripples through MEP, headwalls, and hardware.
VDC teams should also check door swings, caregiver clearances, and equipment access. That’s where a lot of rework starts. It’s often not the framing itself. It’s the missed clinical details around it. Watch for:
Confirm those items before walls close. Once they’re buried, fixes get messy fast.
Layout mistakes can also spill into containment and phasing, which adds another layer of cost and delay.
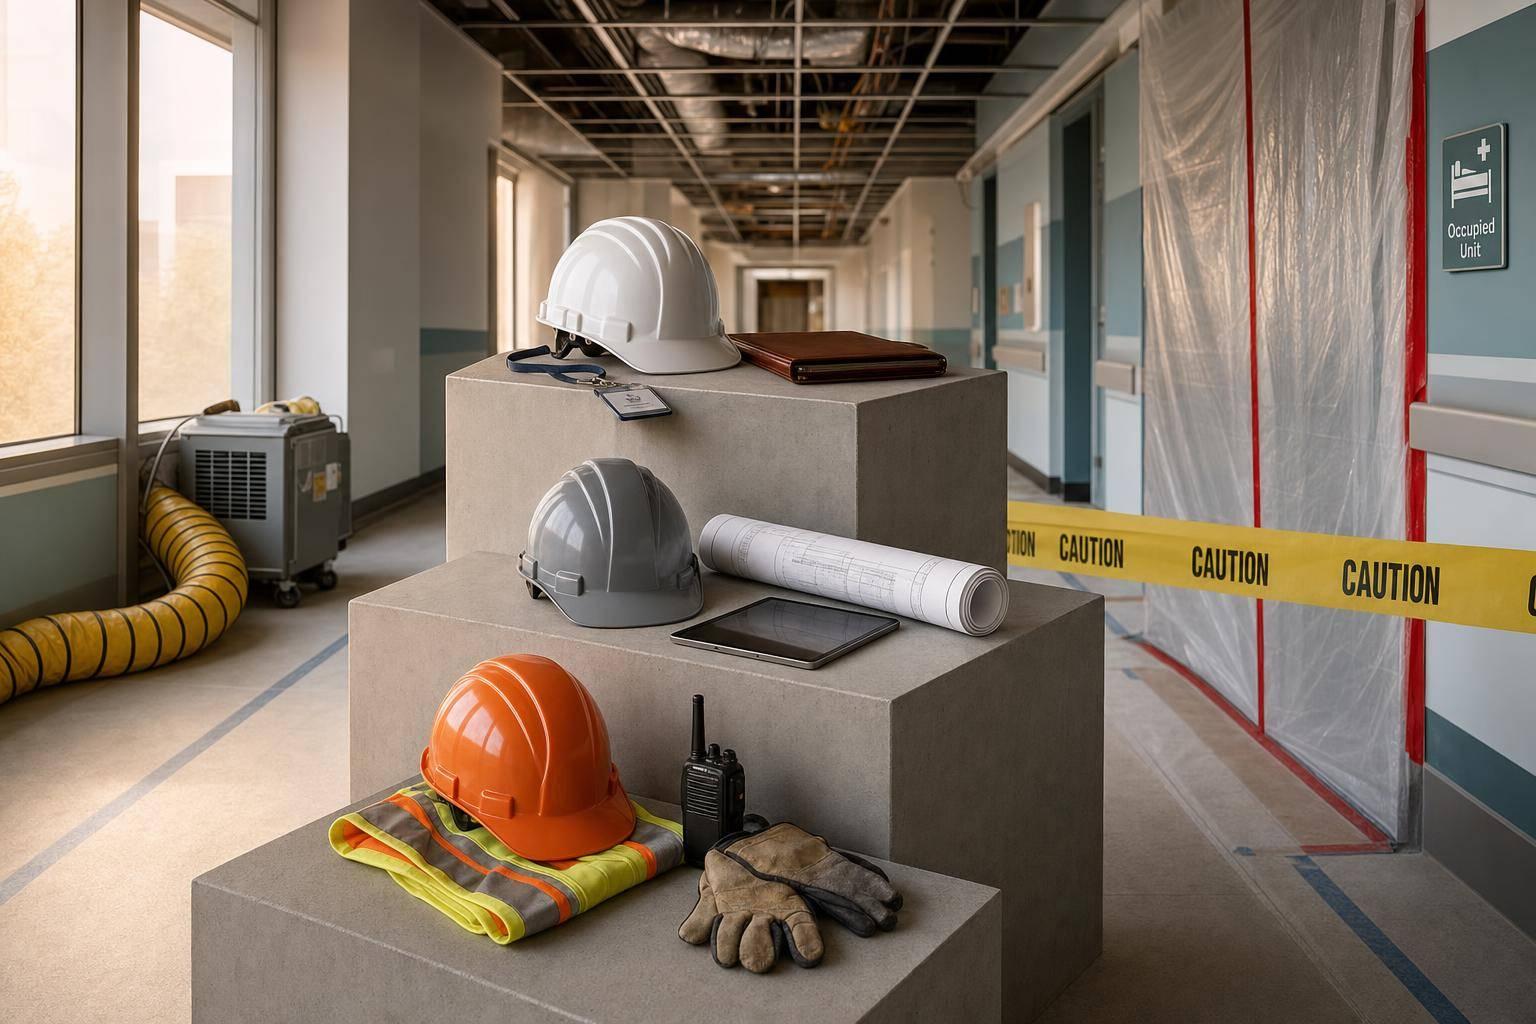
ICRA containment needs to be set before mobilization. The Infection Control Risk Assessment (ICRA) determines containment class based on work type and patient risk [5]. Higher classes call for floor-to-deck barriers, negative air, sticky mats, and anterooms [5]. On phased renovations, crews often have to remove and rebuild those setups at each phase change.
That matters because construction-linked HAIs average $35,000–$45,000 per case [4]. A multidisciplinary ICRA team - made up of infection preventionists, facility engineers, and clinical staff - should define construction types and patient risk groups before mobilization. That way, containment rules are built into the logistics plan from day one instead of patched together later.
Put those requirements into a room-by-room compliance matrix so the team can track them space by space.
Each space should be tied to the FGI criteria that govern it, along with the ventilation design basis and any owner policies. It also helps to link each item straight to drawing sheet numbers so field teams know exactly where to look. Review checkpoints should match the project’s hold points - above-ceiling, pre-close, and testing - so teams catch gaps before they turn into rework.
| FGI-Driven Issue | Scope Risk | Cost Impact | Coordination Impact |
|---|---|---|---|
| ICRA Containment | High (infection risk) | High (materials/labor) | Daily monitoring; path-of-travel restrictions |
| Room Clearances | Moderate (compliance) | High (rework/framing) | VDC/layout review; equipment spacing |
| Radiation Shielding | High (safety) | High (specialty materials) | Multi-trade penetration coordination |
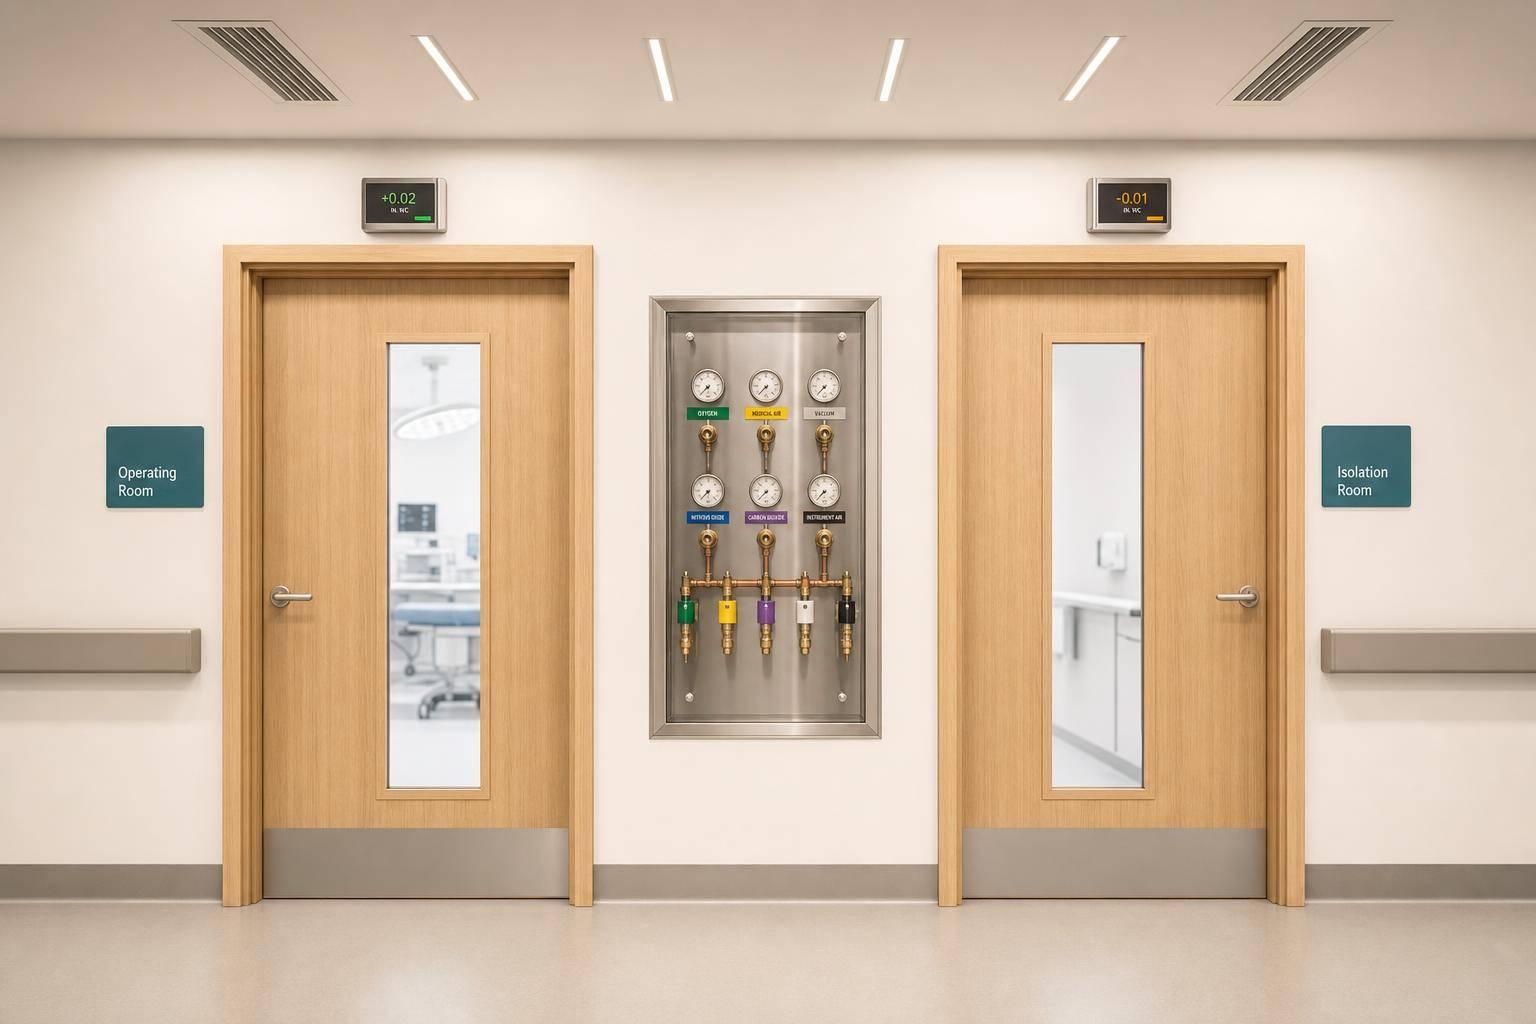
| Pressure Relationships | High (licensure) | Moderate (balancing) | Continuous monitoring; HVAC commissioning |
| Med Gas Testing | Critical (life safety) | Moderate (specialty labor) | Installer certification; nitrogen-purge brazing |
Use pre-close checklists to verify med gas rough-ins, device counts, and required clearances before drywall goes up. Set those checks before mobilization, then carry them into MEP, medical gas, and life-safety coordination.
Once room layouts and ICRA are locked in, the next big risk shows up above the ceiling. Hospital ceiling spaces are some of the most crowded areas on any job. In healthcare work, MEP systems are 3–5 times denser per square foot than in typical commercial buildings [6]. On top of that, FGI rules add dedicated exhaust ducts, separate emergency power raceways, and medical gas piping that has to stay clear of fuel-gas and oil-fired equipment. Even with 8–12 feet of interstitial space, routing still takes careful coordination.
NEC Article 517 requires three separate branches of the Essential Electrical System: Life Safety, Critical, and Equipment. Each branch needs its own distribution path, transfer switches, and raceways [6][7]. At the same time, HVAC ductwork for operating rooms has to handle 20 air changes per hour. Isolation rooms and hazardous drug pharmacies need dedicated exhaust that cannot connect to general exhaust. Domestic water piping also competes for space, and the 2022 FGI Guidelines now require recirculation within 10 feet of each fixture, down from 25 feet [2]. All of that is fighting for the same ceiling zone before fabrication even begins.
Medical gas makes the coordination tighter. During rough-in, verify each outlet against the installed rail, power, and nurse call locations. A 6-inch headwall error can make the assembly incompatible with the bed [6]. That’s a small miss with a big downstream mess. Zone valve boxes should appear on both the med-gas drawings and the reflected ceiling plans, or corridor conflicts usually show up during rough-in. In dense spaces like ICUs and operating rooms, unresolved MEP clashes can lead to $100,000+ in rework [6]. BIM-based clash detection before fabrication is one of the best ways to catch those issues early.
In active hospitals, coordination doesn’t end with installation. It also shapes shutdown planning and interim life-safety work. Every shutdown needs a written plan in front of clinical staff days or weeks before work begins [5]. That plan should spell out which patient care areas are affected, what backup measures are in place, and how long the system will be offline.
When construction cuts through a fire barrier or smoke compartment, Interim Life Safety Measures (ILSM) start right away [5]. That includes:
Inspections need to be sequenced with the work, not treated like an afterthought. Verify pressure relationships after every tie-in, and treat each hold point as a hard stop. Build above-ceiling sign-offs, firestop checks, and pressure tests into firm schedule holds.
These checks should feed straight into field verification and turnover readiness.
Once preconstruction coordination is done, the job shifts from planning to proof. In the field, crews have to show that the installed work meets FGI requirements. That proof comes from verification, documentation, and the right install sequence. A hospital turnover can look complete on paper and still fall apart during inspection if those pieces are missing.
Build full-scale mockups before rolling into mass installation. They help teams check headwalls, equipment fit, and clinical clearances while changes are still cheap and simple. A misaligned outlet or blocked clearance caught at the mockup stage costs a lot less than fixing it after drywall is up.
Use pre-close walks to verify rough-ins, device counts, handwashing clearances, and ventilation before drywall goes in. That step matters because once walls are closed, small misses turn into painful rework.
Radiation-shielded rooms need even tighter field checks. Every conduit and duct penetration has to keep lead sheeting continuous, using lead collars or sleeves before finishes are applied. Above-ceiling sign-offs should also confirm a few things:
Punch lists work better when they're grouped by space type. That keeps corrections contained early instead of letting the same issue show up room after room.
These field checks should feed straight into closeout records and AHJ inspection prep.
Physical completion is not the same as inspection readiness. HVAC-related deficiencies make up about 34% of all healthcare construction violations [4]. That's a big reason testing and balancing records, pressure relationship checks, and commissioning documents need to be done before closeout starts.
A good way to stay on top of this is to track each system with the same room-by-room discipline used during pre-close walks. The matrix below helps tie field checks to the records needed at turnover:
| Category | Field Verification Task | Required Turnover Documentation |
|---|---|---|
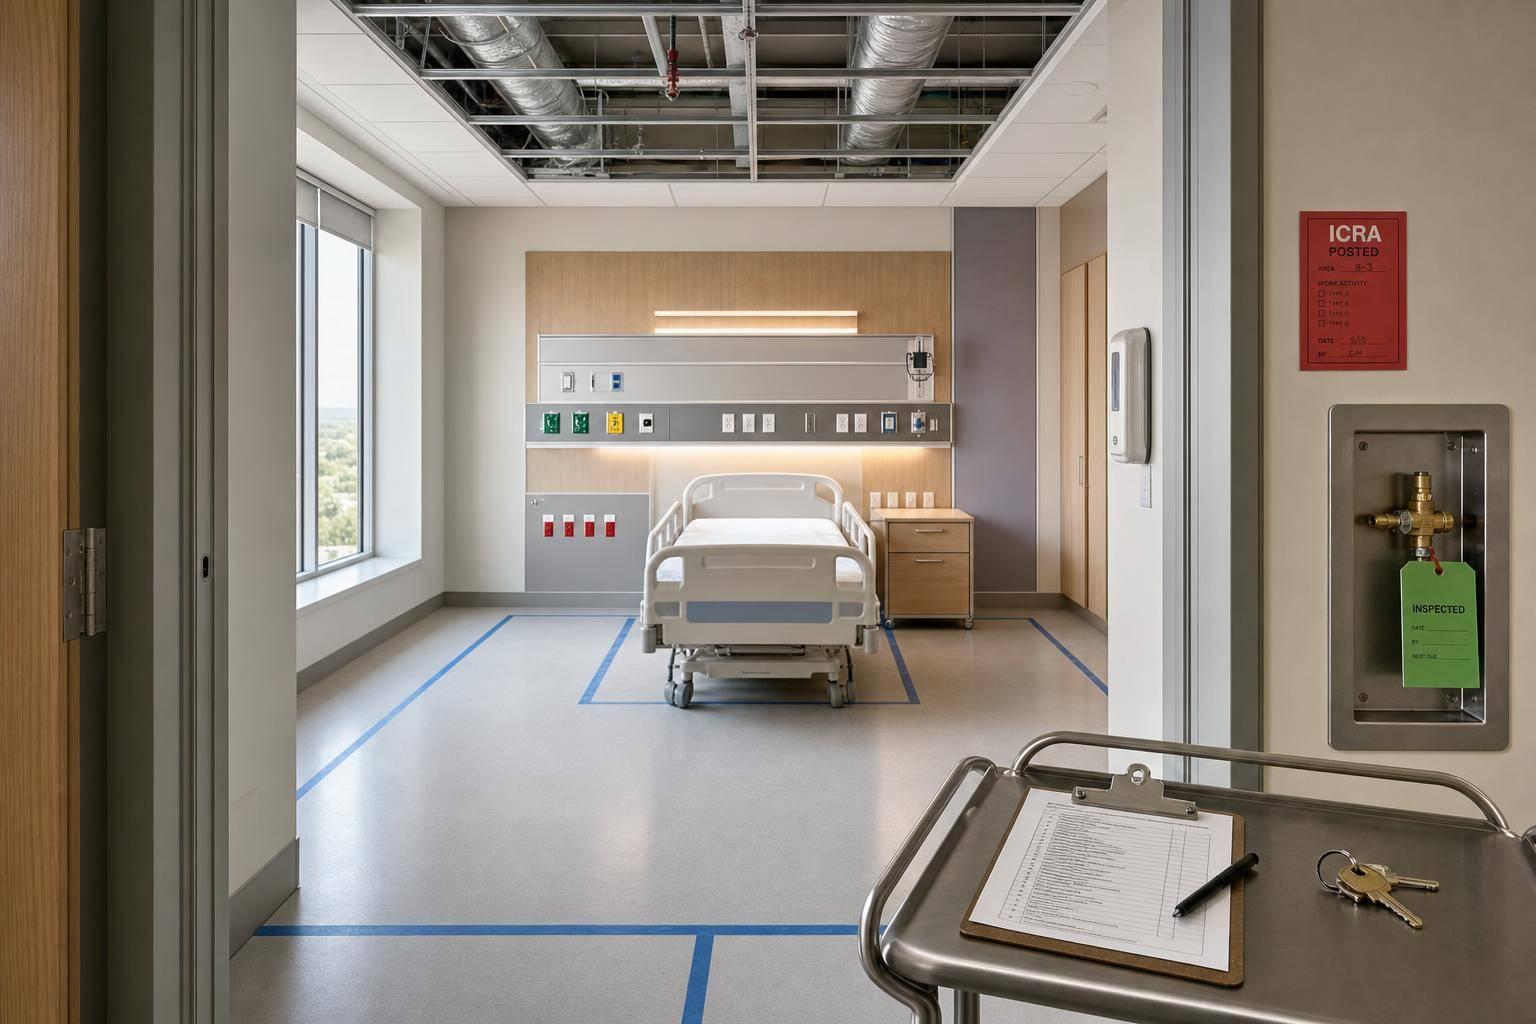
| Infection Control | Daily barrier and pressure checks | ICRA permits, daily monitoring logs, sign-offs |
| HVAC / Air | Duct leak testing, pressure relationship verification | TAB reports, HEPA filter certifications, commissioning docs |
| Medical Gas | 24-hour nitrogen pressure test ($150 \text{ PSI}$) [5] | Brazing logs, purity test results, ASSE 6010 certs |
| Electrical | Ground continuity testing | Receptacle test logs, line isolation monitor calibration records |
| Life Safety | Firestop listed system verification | ILSM plans, fire alarm sensitivity reports |
| Plumbing | Water temperature and dead-leg length checks | Water quality/bacteria test results, valve settings |
Organize closeout records by room and by system. That makes it easier to trace a failed test, missing sign-off, or open item without digging through a giant turnover file. Digital storage can help here too, especially when test results and certification photos are attached directly to each task, which can make AHJ inspections smoother [5].
For medical gas, log every brazed joint and connect it to pressure, purity, and cross-connection test records before acceptance. That kind of paper trail saves time later when inspectors want proof, not guesses.

FGI Compliance by Phase: Hospital Contractor Checklist
FGI compliance happens in stages, starting in preconstruction and running all the way through turnover. After that, the job comes down to execution: tie each FGI requirement to a project phase, give it a clear owner, and define the exact deliverable.
Use this checklist to turn FGI requirements into field tasks. The table below maps the main FGI actions, owners, and outputs by phase.
| Phase | Key FGI Action | Owner | Critical Output |
|---|---|---|---|
| Estimating | Budget ICRA containment, monitoring, phasing, and shutdown overtime; include 10–15% contingency for healthcare renovation [5] | Estimator | Phase-by-phase containment budget |
| Preconstruction | Conduct PCRA and ICRA planning; verify room sizes and build a room-by-room compliance matrix [1][2] | PM / Super | Signed infection control permit |
| Coordination | Use BIM-based clash detection; coordinate medical gas rough-ins and flag MEP conflicts before fabrication [3][5] | MEP Lead | Room-by-room compliance matrix |
| Construction | Enforce above-ceiling permits; inspect ICRA barriers daily; complete pre-close walks before drywall [1][5] | Super | Signed pre-close checklist per room |
| Closeout | Complete receptacle testing, med gas purity logs, TAB reports, and water quality testing before occupancy [5] | PM / CM | Full commissioning and testing package |
Once ownership is locked in, procurement usually becomes the next schedule risk. That’s why it pays to order long-lead items early, including cleaned and capped Type L or K copper, MERV 14 or HEPA filters, and lead-lined shielding panels.
FGI requirements affect every role on a hospital project. This checklist turns room, MEP, infection control, and closeout requirements into tasks that someone owns.
The playbook is pretty simple:
That kind of discipline helps turn FGI from a compliance headache into a delivery edge.
For contractors looking to build stronger workflows around construction project delivery in complex settings like active hospitals, the fundamentals stay the same: front-load the hard decisions, document everything, and don’t let field execution move ahead of your verification process.
FGI Guidelines become enforceable when a state or federal agency adopts them into law, code, rule, or regulation.
They can also become enforceable if an accreditation group requires them, such as The Joint Commission or DNV. Since enforcement differs by jurisdiction and accrediting body, contractors should check with the state department of health or the project’s authority having jurisdiction to confirm what applies.
Before closing walls and ceilings, contractors need to check that all MEP rough-ins line up with the design requirements. That includes medical gas rough-ins, ventilation distribution and pressure relationships, handwashing locations, and the required number of devices.
They should also verify required clearances, coordinate ceiling space, especially in operating rooms, and secure pre-close checklist sign-off to document compliance before drywall goes up.
Maintain a room-by-room compliance matrix that ties each space to FGI criteria, ventilation requirements, owner policies, and drawing sheet numbers. That way, the team and reviewers can work from one reference instead of piecing details together from different files.
Organize closeout documents by room and system. Include infection control risk assessment records, testing and balancing reports, and inspection sign-offs. Also, route design changes through a formal process, and document the reasoning behind code interpretations or clinical adjustments.